接下来我们来一起看index.vue,先展示一下我们的成品页面
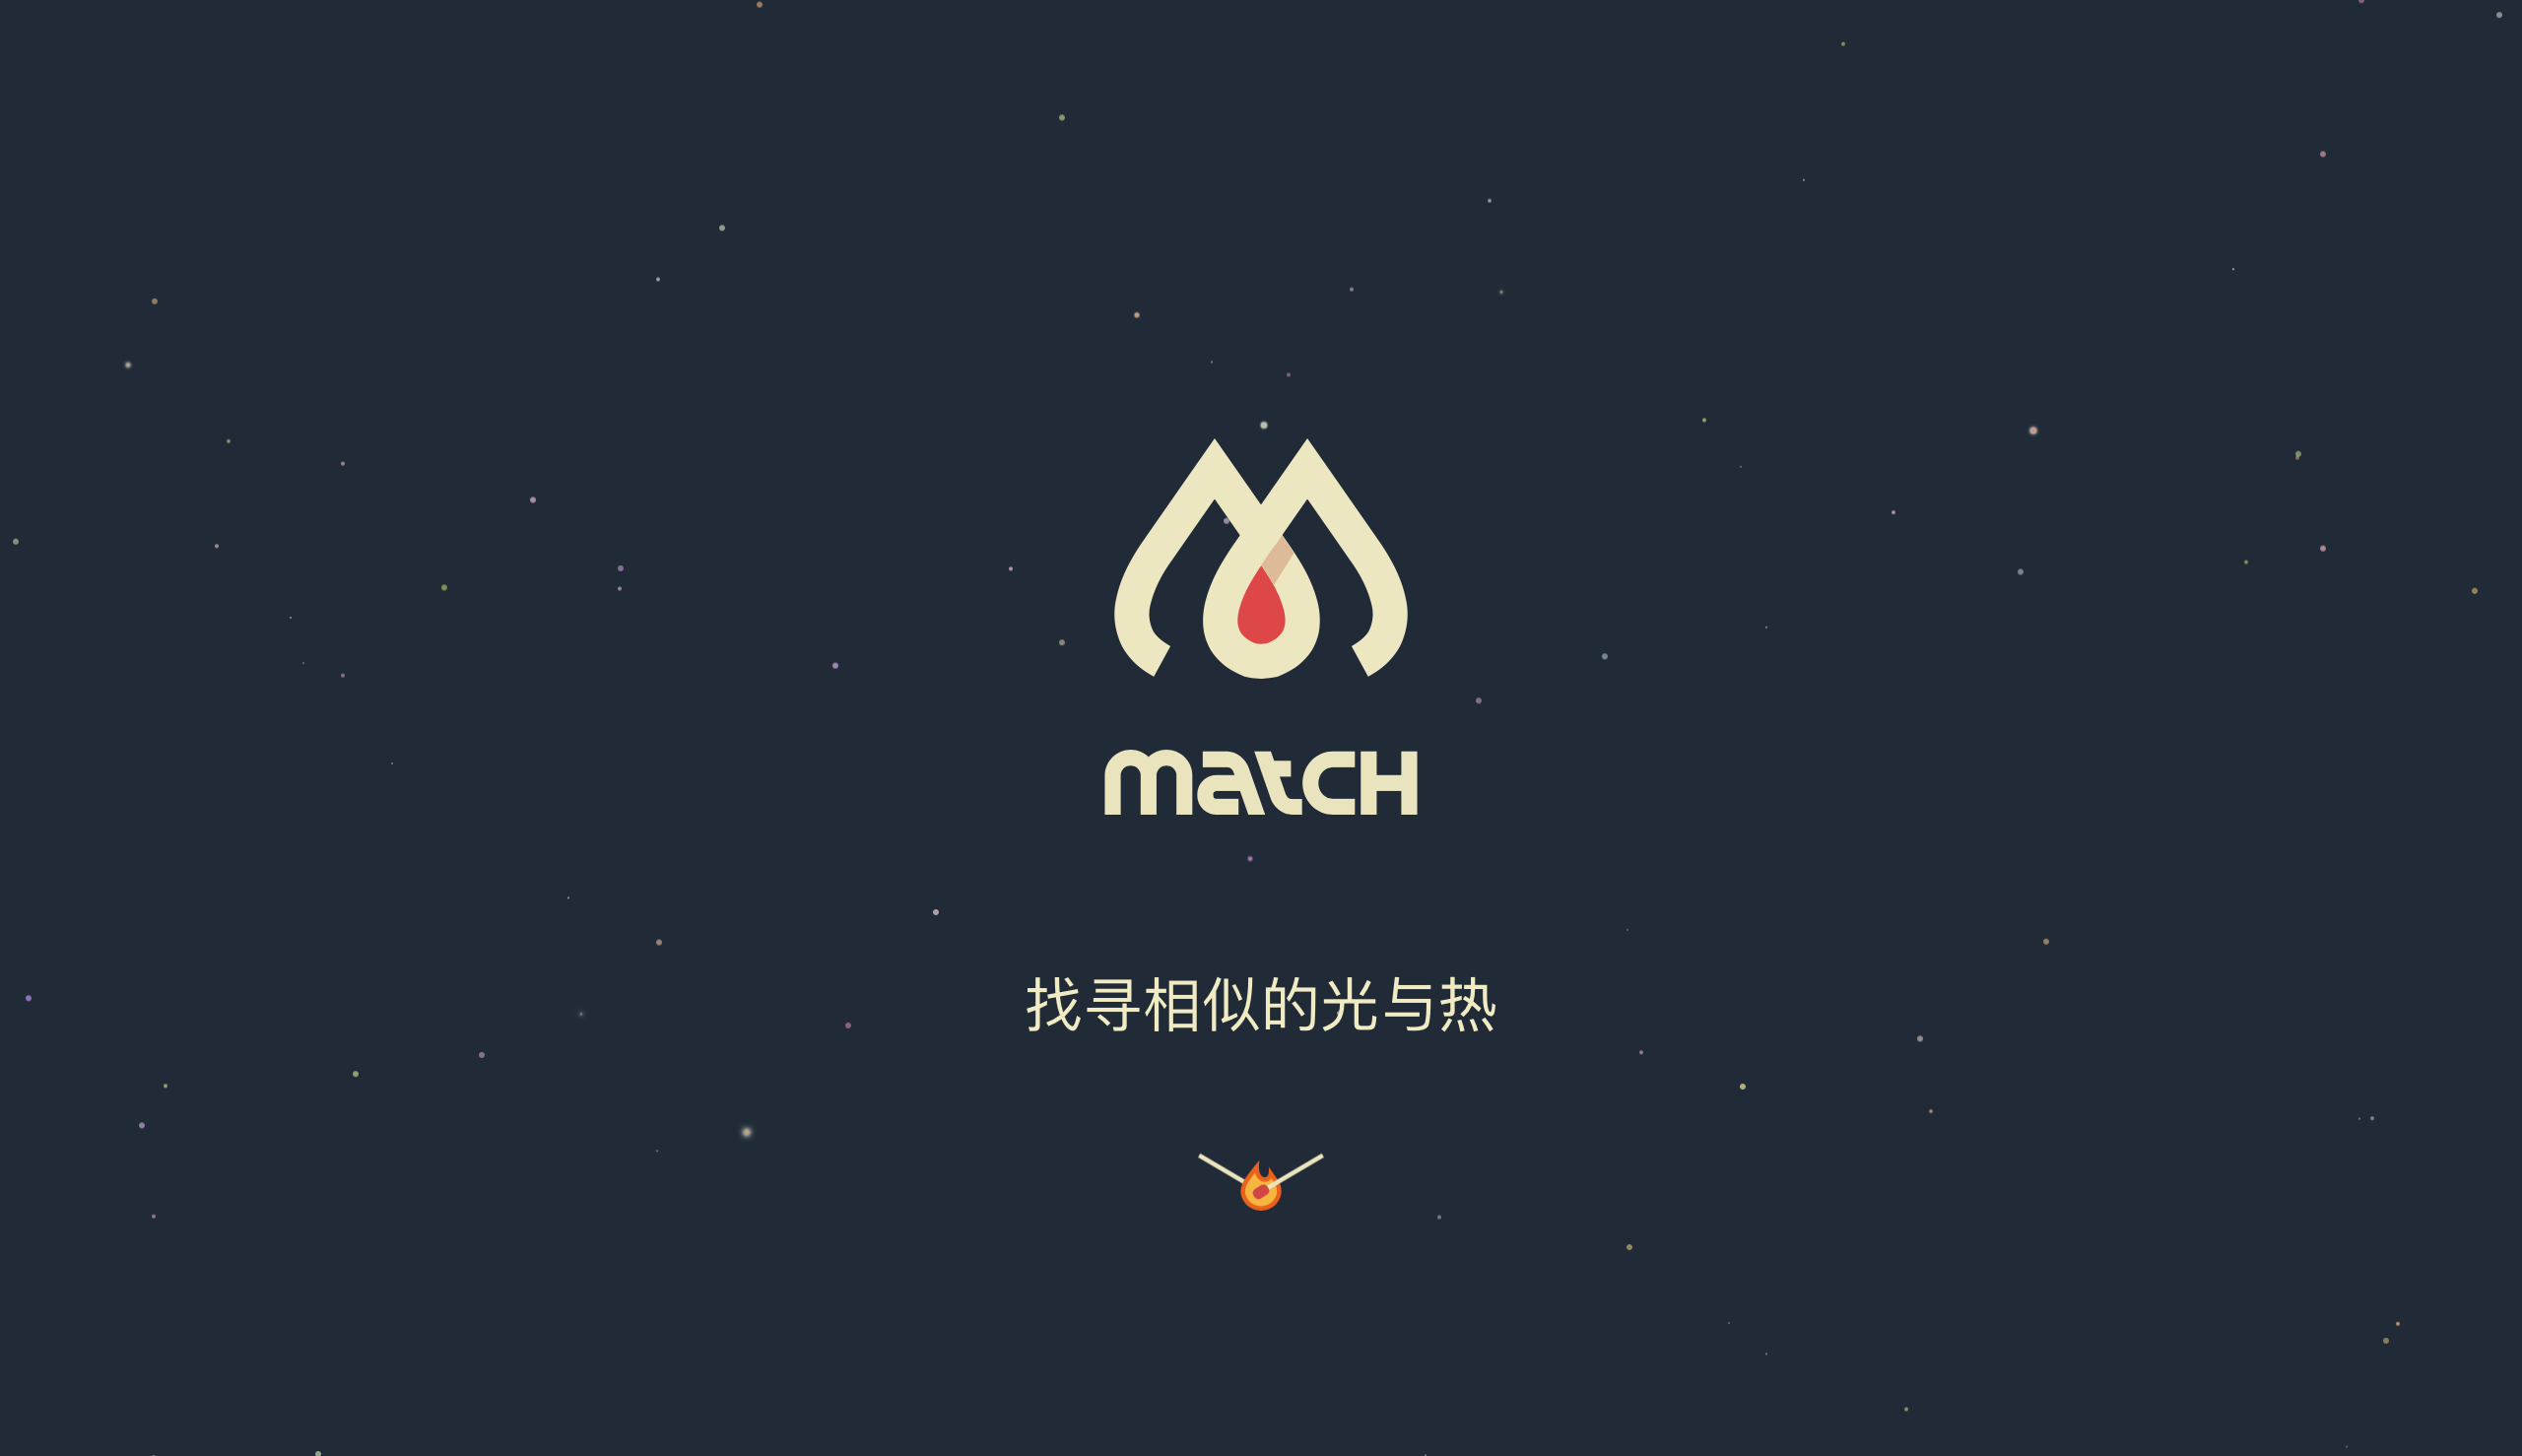
 很漂亮对不对?
第一个页面的具体样式我们这里不做赘述,我们怎么从第一个页面切换到第二个页面呢?
<div class="main item" v-bind:class="{ mainNext : onNext}" v-on:mousewheel="scrollNext">
    ...
</div>
<div class="input item"  v-bind:class="{ inputNext : onNext}">
    ...
</div>
第一个div main中装的是第一个页面的内容,第二个div input装的是第二个页面的内容,我们用v-bind绑定选择器,并设置一个状态值onNext,当onNext为true的时候便给两个div加上相应的class,我们可以利用这一性质设置animation点击产生滑动特效,代码如下:
.mainNext{
    animation: main_leave 2s ease-in-out;
    opacity: 0;
  }
  @keyframes main_leave {
    from{
        transform: translateY(0);
        opacity: 1;
    }
    to{
        transform: translateY(-100%);
        opacity: 0;
    }
  }
  .inputNext{
    animation: input_show 2s ease-in-out;
    z-index: 3;
    opacity: 1;
  }
  @keyframes input_show {
    from{
      opacity: 0;
      transform: translateY(100%);
    }
    to{
      opacity: 1;
      transform: translateY(0);
    }
  }
我们可以实现点击下翻按钮产生滑动特效,在放有下翻图标的div上使用v-on监听click事件,绑定next函数,将onNext改为true
methods:{
        next: function (event) {
            this.onNext = true
        }
        ...
    }
若想实现滑动页面便能翻页的特效,就在main中监听mousewheel事件,若检测到用户滑动则触发scrollNext函数
scrollNext:function(e){
      if (this.onNext) {
        return
      }
      this.onNext = true
    }
注意到我设置了一个if语句,判断onNext是否为true,若为否则将其设置为true,这是为了确保只会触发一次滑动事件
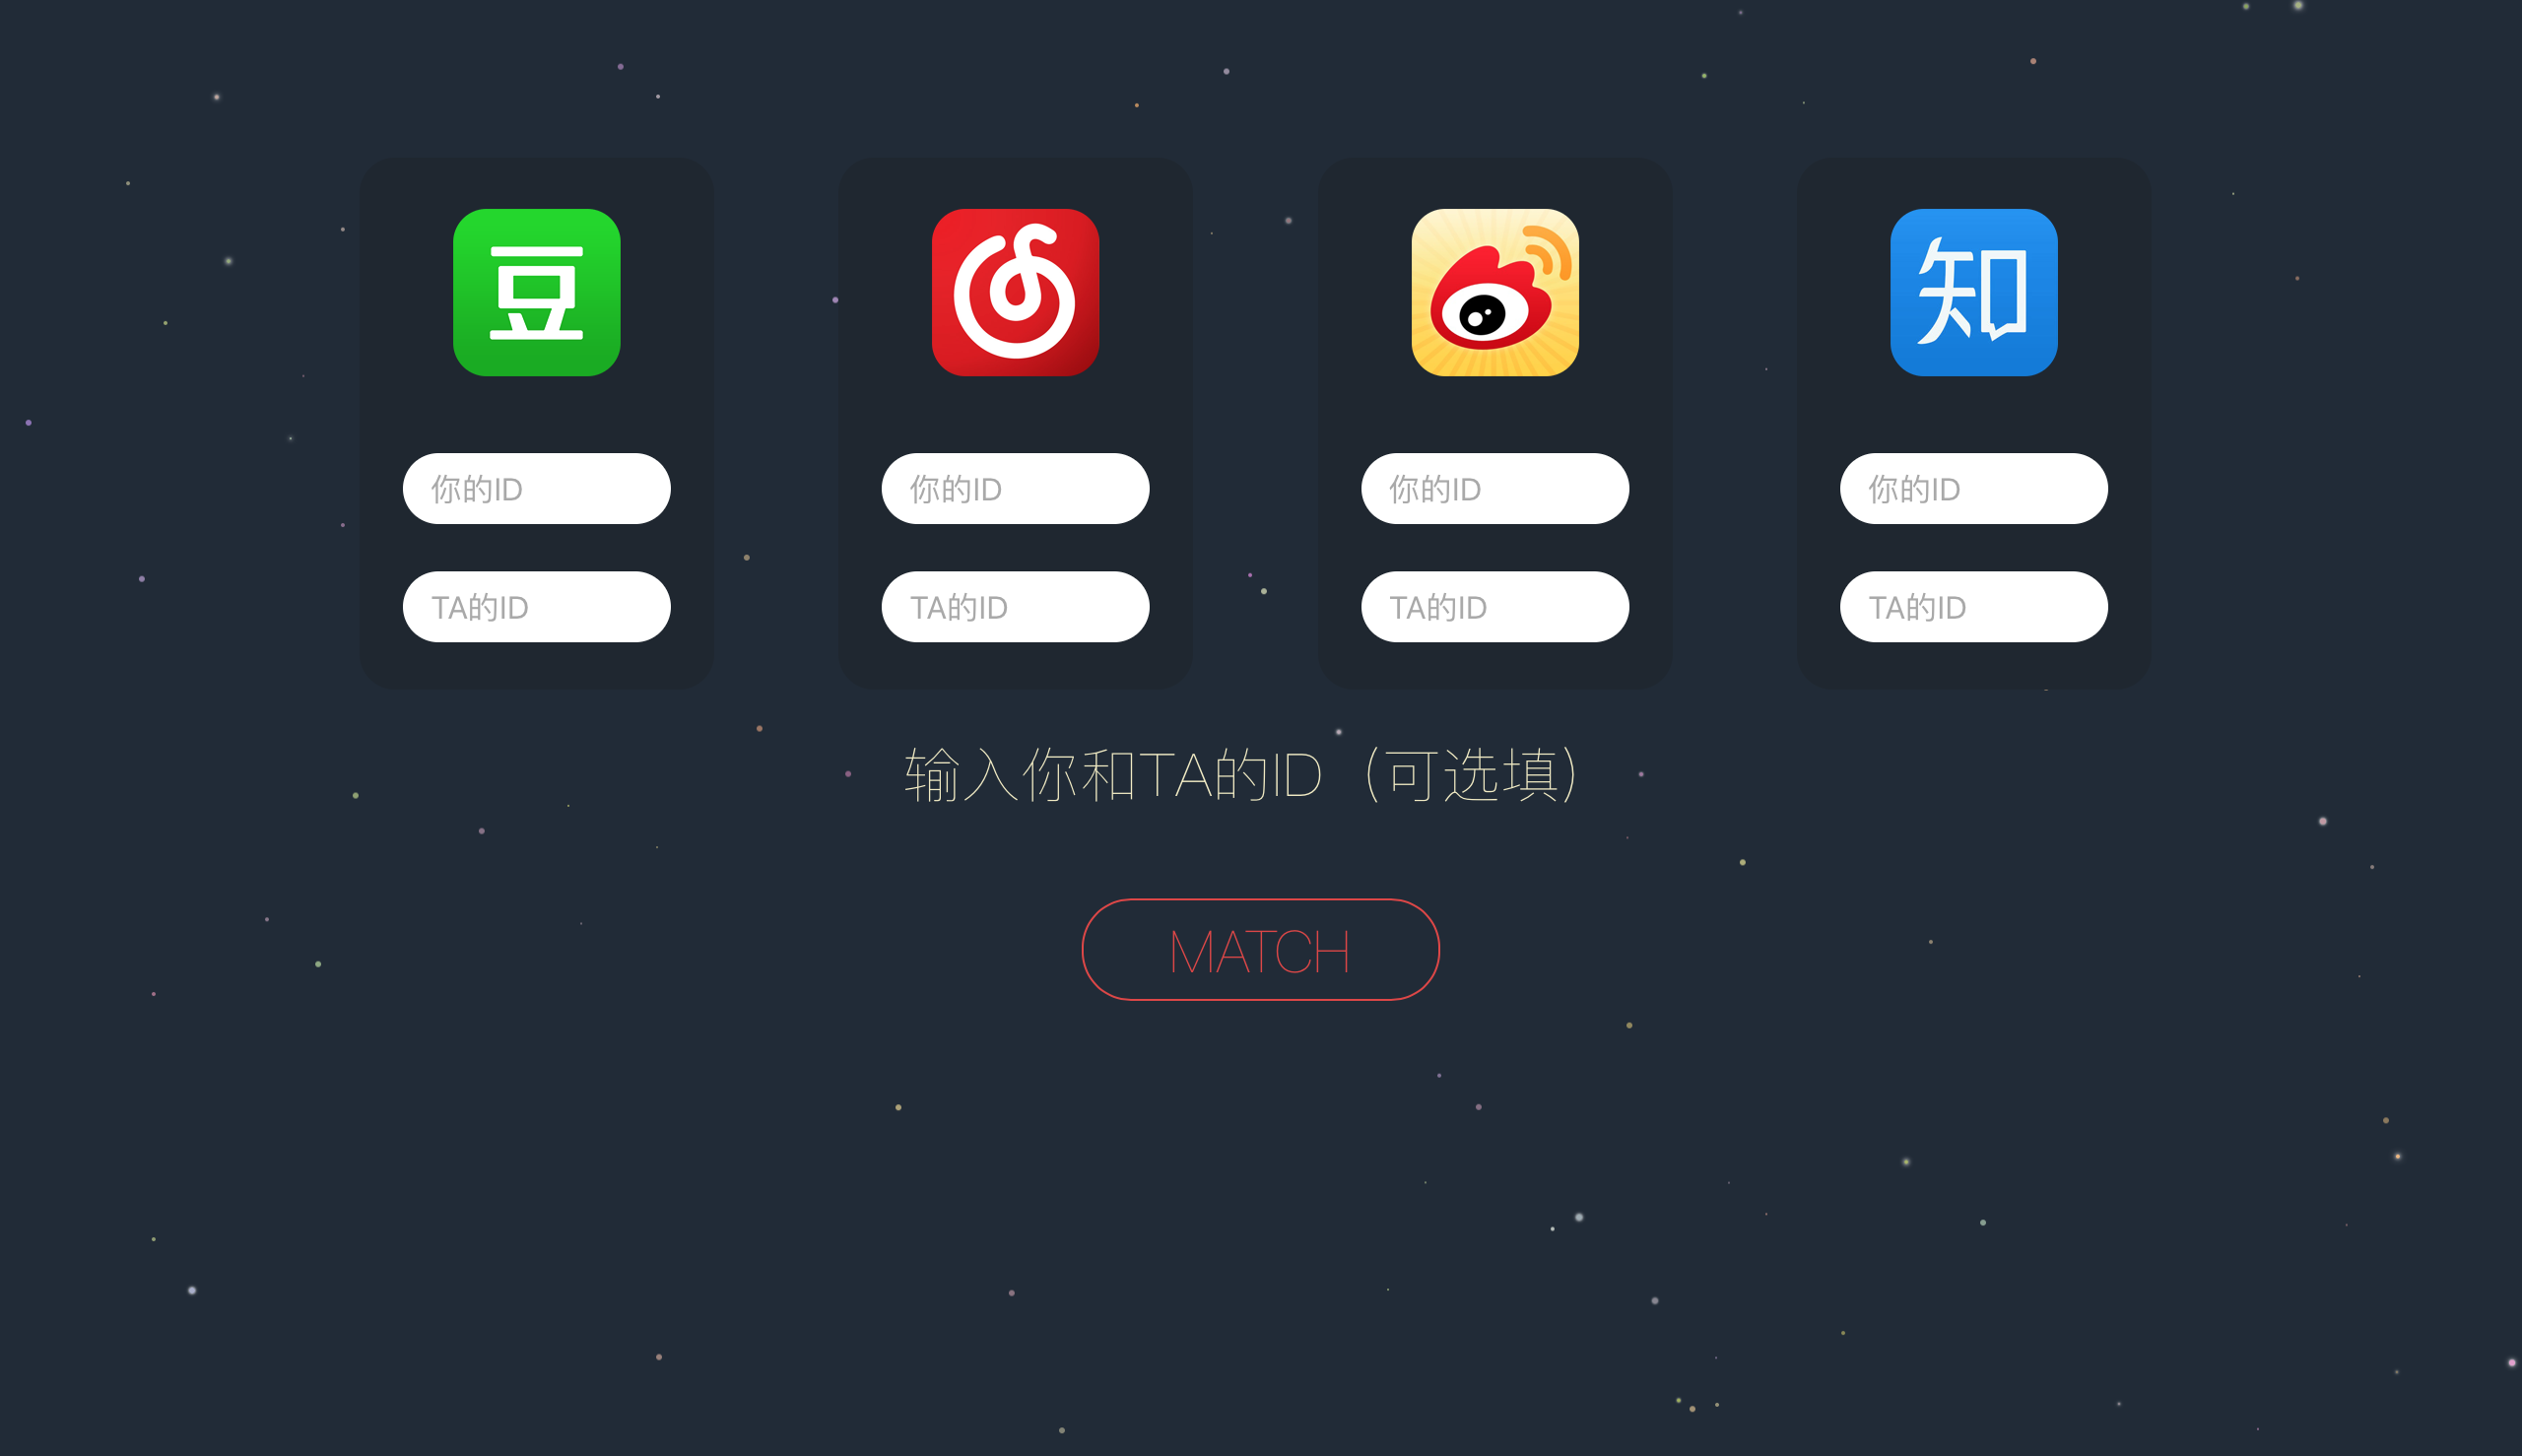
好的接下来我们通过滑动来到了第二个页面,关于第二个页面这次我新学到的一招是在父元素上设置text-align: justify;让其子元素水平居中,不过这一方法只能让处于非最后一行的子元素并列显示,因此我们还要在父元素中需居中的子元素后人为加上一个div
<div class="text_align_fix"></div>
.text_align_fix{
      display: inline-block;
      width: 100%;
      height: 0;
      overflow: hidden;
    }
接下来我们来看每个输入框的数据如何传给后台,其实很简单,是使用vue的v-model绑定相应的数据,然后使用fetch发送post给后台,我们以网易云音乐的数据传送为例
<template>
    <!-- 用v-model绑定数据 -->
    <input type="text" placeholder="你的ID" v-model = "wangyiId1">
    <input type="text" placeholder="TA的ID" v-model = "wangyiId2">
    ...
    <!-- 绑定 点击触发count函数事件 -->
    <button class="button match_button" v-on:click = "count">MATCH</button>
    ...
</template>

<script>
import 'whatwg-fetch';
export default {
  name:"index",
    data (){
        return {
            onNext:false,  // 初始化设置产生滑动效果的状态位为false
            isloading:false, //初始化页面加载效果的状态位为false(后文会提到)
            wangyiId1: "", //定义相对应的变量用于存储数据
            wangyiId2: "",
        }
    },
    methods:{
        next: function (event) {
            this.onNext = true
        },
        count:function(event){
            this.isloading = true
      fetch('/getScore/', {     //发送post请求
      method: 'POST',
      headers: {
            'Accept': 'application/json',
            'Content-Type': 'application/json'
        },
      body: JSON.stringify({
            wangyiId1: this.wangyiId1,
            wangyiId2: this.wangyiId2
        })
    })
    .then( res => {
      return res.json()
    })
    .then( json => {
            this.$parent.score = json  //将返回的数据赋给app.vue中定义的score
            this.$router.push("result")  //然后切换到result页面
            })
        }
    }
}
</script>
接下来我们就进入查看结果的页面啦,下一篇会详细介绍一下result.vue
ps:想知道button的hover效果是怎么实现的吗?可以戳Flat & Shiny Button (hover effect)~